I'm no expert, lets get that straight from the
off. However, I have been diving and doing underwater photography for few years
so I hope I have some advice to give.
Basics of Underwater Photography
Colour Correcting filters
Photoshop
Colour balancing
Removing spots, particles and back scatter with Photoshop
Return to
Big Dave's
Dive Site
Choosing a Camera
This is probably
one of the most asked questions on the forums. If you ask me I’ll always
recommend
The starter
camera I recommend is the
You can always
ask at dive centres (as some advise) and they’ll do
the same as me, they’ll recommend what they personally use. When I wanted to
upgrade I asked the photographer at ProDivers on Kuredu when I was there. He recommended the
Search the Dive
magazines such as Dive and Diver who have run many comparison tests for digital
point and shoot cameras.
Basics or
#1 - Don't be Shy! Get up-close and personal!
The closer you are, the less water is between you and the subject and the
better the photo will be. The best way is to get a wide angle lenses and dome
port and swim up to what you want to photograph. Some cameras come already
equipped to do wide angle shots, others you can get add on lenses.
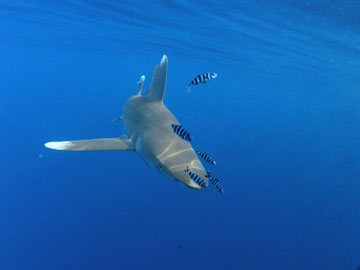
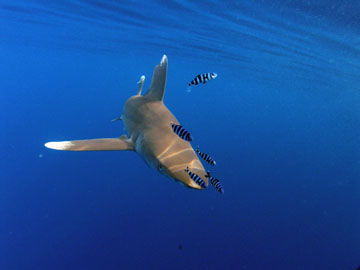
The image above is a really simplified explanation. Reduce the amount of water
between you and the subject and you will get better photographs. Of course this
is easy with Lion Fish and Oceanic Whitetip Sharks
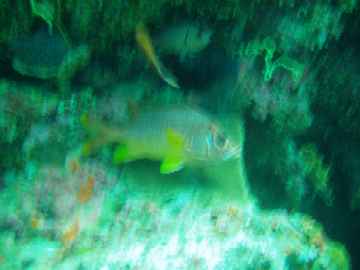
that don't flee when you get close but try getting close to a Parrot Fish or a
Coral Grouper, they are a pain!
#2 - Embrace the lightside my young Padawan
Lighting is absolutely crucial. There is no substitute for an external strobe.
If the water is clear and you can get close the internal flash is usually
fairly good, colour correcting filters are a waste of time in my opinion*
There are several methods of getting more light in your photo's. Such as staying shallow, diving at
It the tropics in the first 10m you don't need a flash but below this the
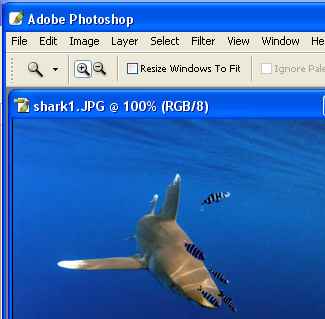
colours really do fade. Saying that the shark pics
below were taken in the
*Opinions are like assholes.... everyones got one!
Colour Correcting Filters
These balance out the blue of tropical waters or the
green of temperate waters.
I bought one of these, took it to the
Don't get me wrong I got some good shots with the filter, but I lost a lot more
due to the filter.
The filter cuts down the amount of light reaching the lens. Think a pair of
sunglasses. What this results in the camera increasing the time the shutter
opens (shutter speed). As anyone who's used a camera knows, low light
conditions require a steady hand. Try hold a camera
still underwater for more than a fraction of a second...
This was the norm when I was using the filter deeper than about 10m to 12m or
if it was dull. 10m down on a bright day they work wonderful as long as your
subject is not under a overhang or your in the shadow
of the rocks/reef. Anything that might encourage the camera to up the time the
shutter is open for is likely to cause a blurred picture.
My advice is go with....
Photoshop (or similar product)
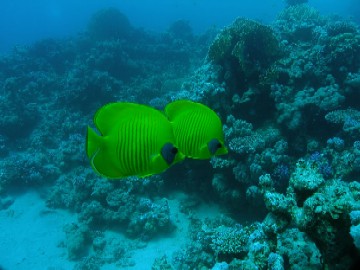
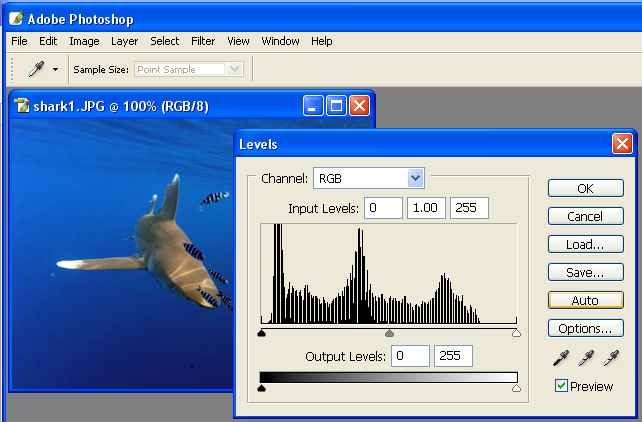
The Photoshop software has a 'Levels' menu that allows you to balance colours.
It does a great job in taking 'bluey' pics (the one below is only 5-8m deep but already the
filtering effect of the water is turning it blue)....
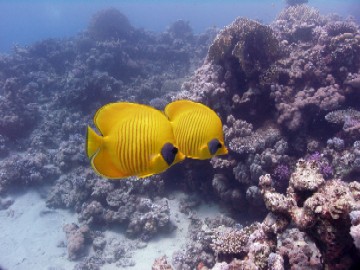
and turning them into what you did really see. You will notice there are still
spots and particles in the photo below but the
colours are better. Removing the spots is shown below.
The deeper you get the bigger the effect the is on colour and the more you need to correct the colours.
Photoshop is expensive but you can get a cut down version apparently and I have
been told Paint Shop Pro does similar but costs a lot less.
To balance out colours in photos that are very blue (in
tropical waters) or very green (in
1. Open photo
2. Selected 'Levels' from Image menu.
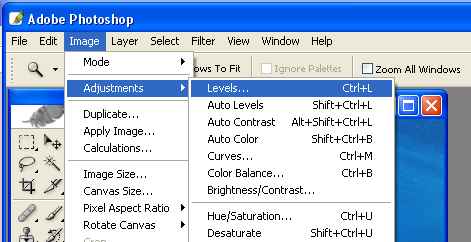
which pops up the following menu
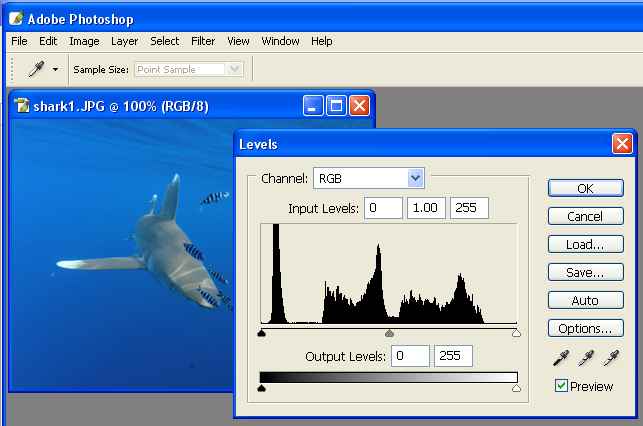
3. Press 'Auto'
4. If the photo goes too red select the colour red and use the sliders to
reduce until your happy.

5. OK
6. Save
The above won't get you the best photo's in the world,
but they'll be a lot better. After a while try doing it manually with the
individual red, green and blue settings.
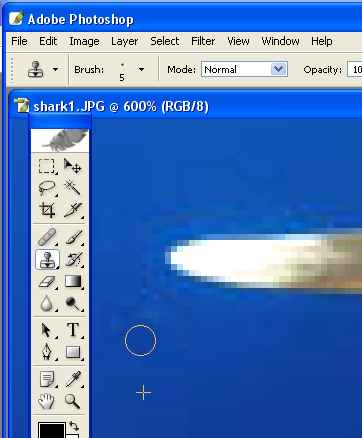
Particles can be removed using the rubber stamp tool.
1. Zoom in on the spot to be removed.
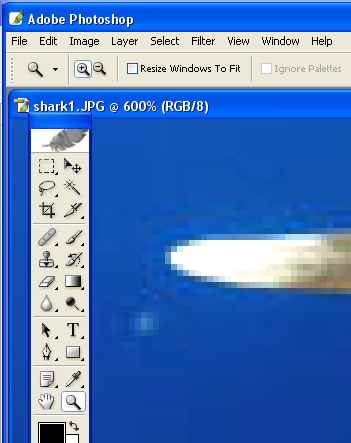
2. Select the rubber stamp (clone) tool.
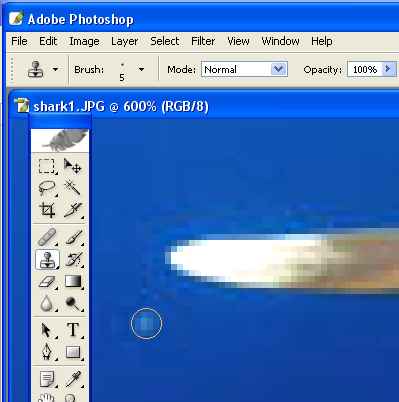
3. Position cursor to an area close to the particle/spot you want to rub out
and whilst holding the 'Alt' key on the keyboard, left click the mouse once.
4. Now move the cursor over the particle/spot and hold down the left mouse
button and 'rub' over the spot. The area your clicked in #3 will copy the base area
(the +) to the area where your cursor is (the O).
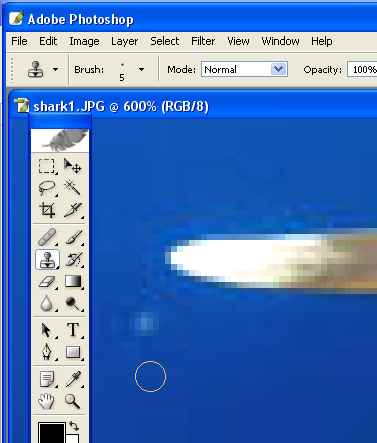
And hey
presto the spot is gone
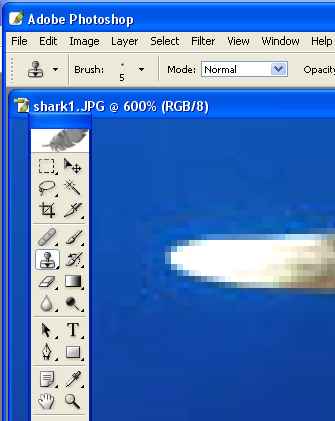
Zoom
out, and that's magic
I've heard some people say Photoshop is very complicated and only for
professionals. OK to get the absolute best from a picture I'm sure that
Photoshop can do a lot more than I use it for. The above are easy to do and
give cracking results.